This article provides an overview of the different options available to merchants for customizing the payment window through branding – including how to add your own logo.
With Quickpay’s branding system, the design and behavior of the payment window can be customized. The window is built using HTML, CSS, and Liquid, making it easy to adapt for those with web development experience.
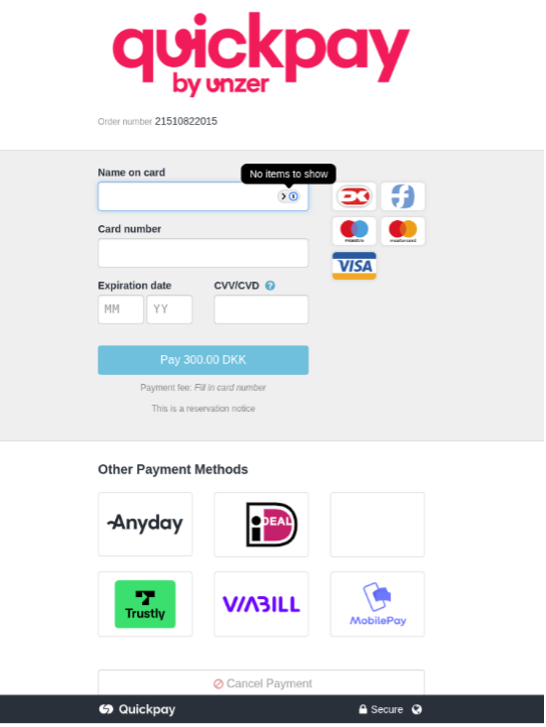
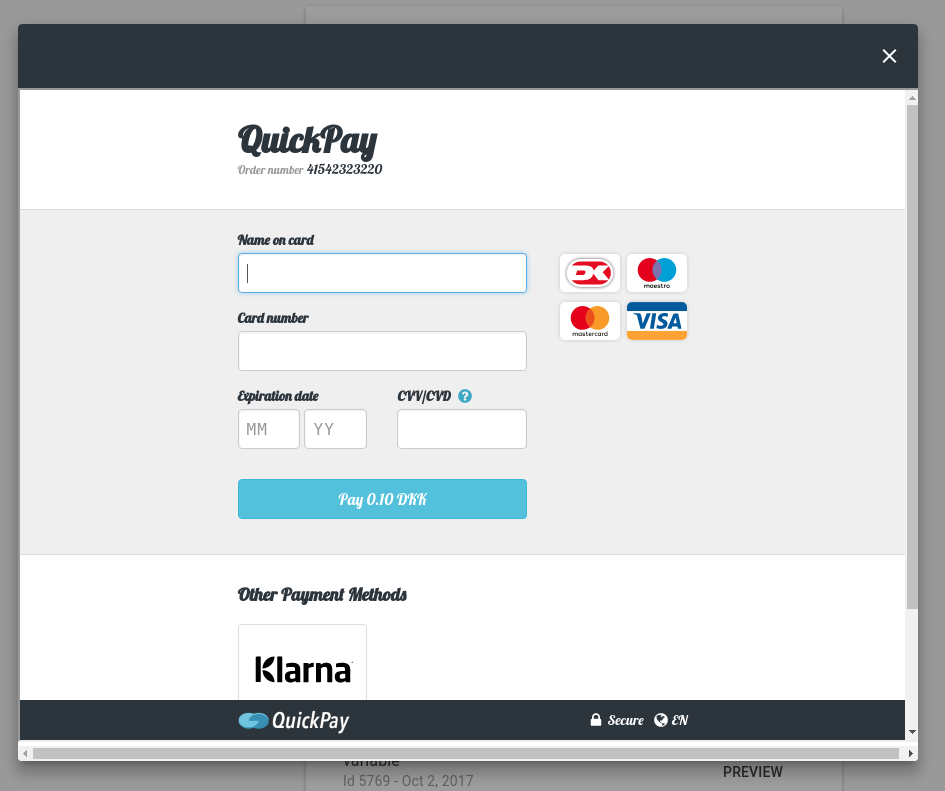
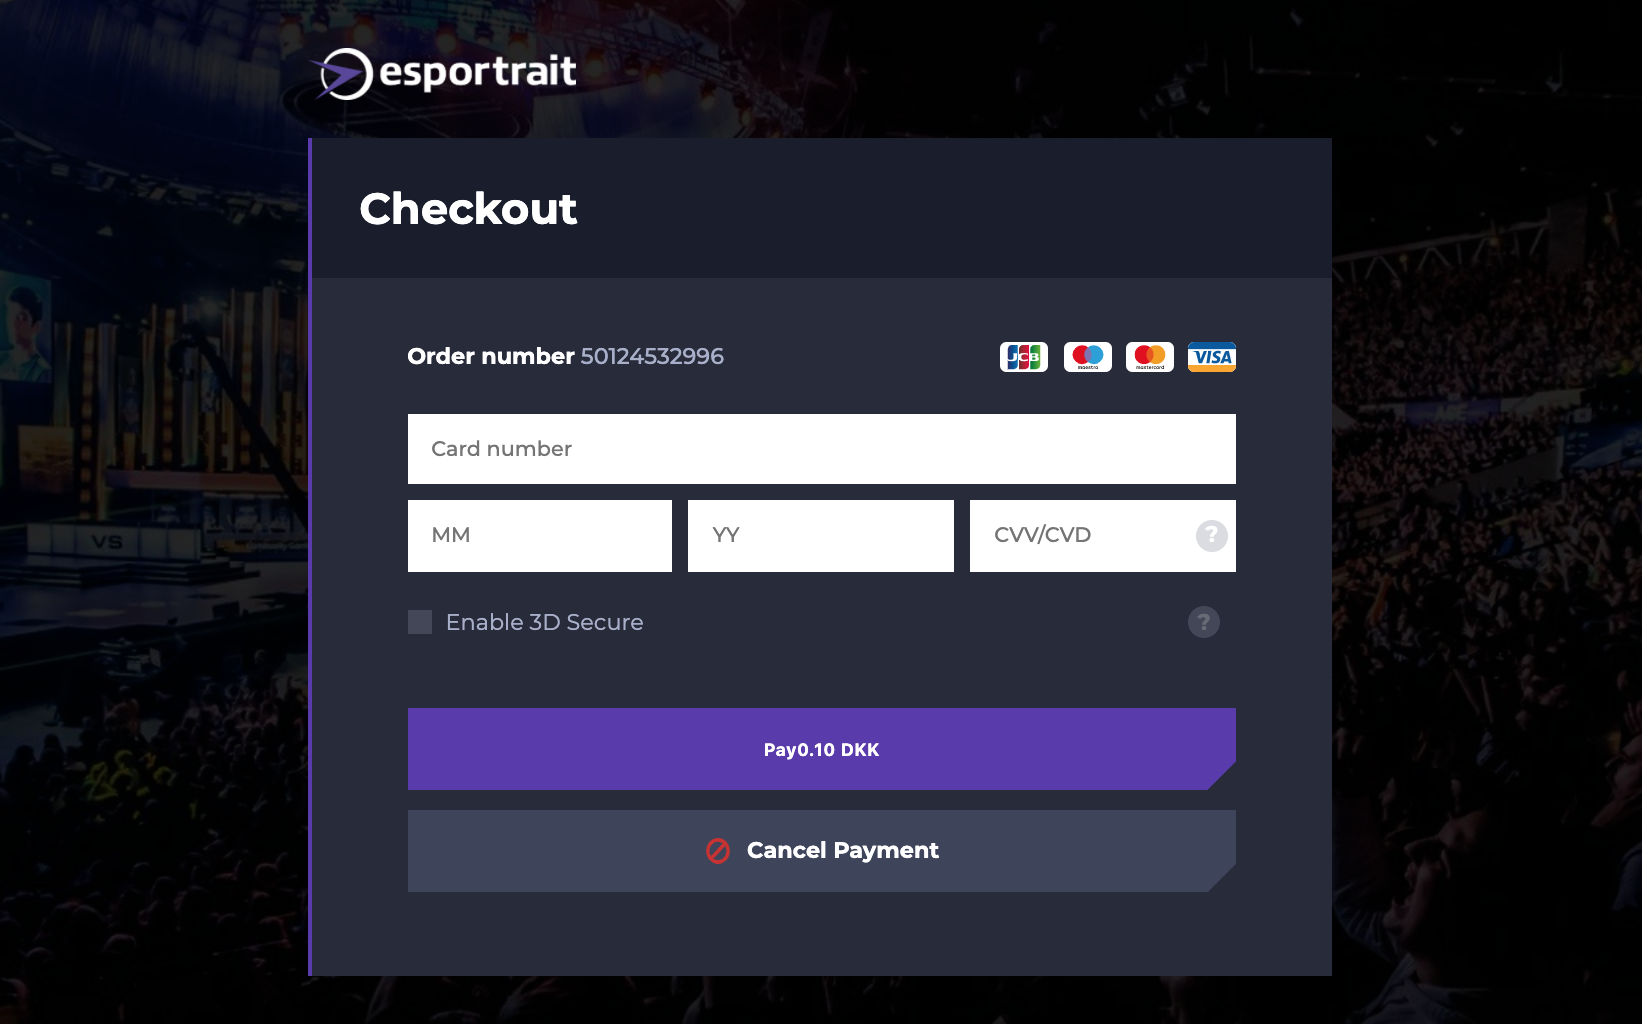
Quickpay is launching a new, modern design for the payment window, version 2.5.2. The previous design has long felt outdated, and we’re excited to present a look that meets today’s expectations.
The code for Quickpay’s payment window is open source and available at: https://github.com/quickPay/standard-branding
If a merchant has not created their own branding, the latest version of the standard branding will be used automatically, including all recent updates.
However, if you use custom branding, you are responsible for keeping it updated to support new Quickpay features. We’ve created a “best practice” guide to help you maintain your custom version.
The new design is optional and can be activated in Quickpay Manager under “Standard branding”. The design can also be downloaded directly from our GitHub: https://github.com/quickPay/standard-branding.
All payment window features remain unchanged – this is purely a visual update. Custom branding is still supported, and existing versions will continue to work as before. However, we strongly encourage updating your custom branding to align with the new version, as updates are not automatic.
Download the new version here: https://github.com/QuickPay/standard-branding
The new design also complies with the European Accessibility Act, which came into effect in July 2025, enabling customers with disabilities to complete payments using assistive technologies.
If you use custom branding, we strongly recommend ensuring it also complies with the EAA. Quickpay is not responsible for legal compliance when using custom branding. In such cases, the individual merchant is responsible for ensuring the payment window meets the requirements.
Read more about the European Accessibility Act here: European Accessibility Act’
The old version of the standard branding will eventually be phased out and will no longer be supported. The exact date has not yet been determined, but it will most likely happen in the new year.
We encourage our customers to begin implementing the new version as soon as possible.
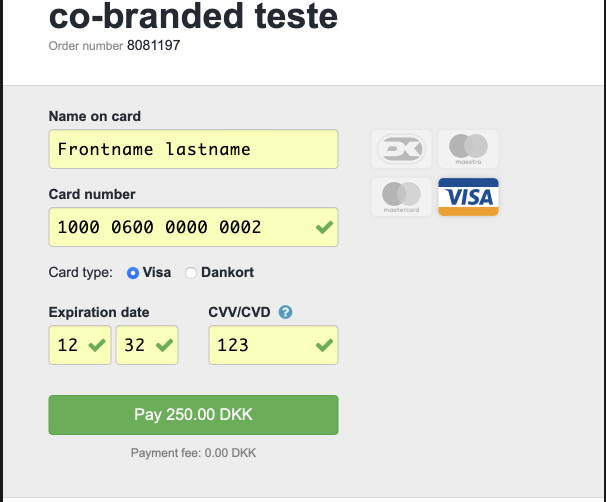
We wish to inform you, that Visa has made som new requirements, that imposes on traders, that uses both Dankort and Visa-payments to let the cuatomers choose the Visa or Dankort part of the card.
This function is now avaliable in the Quickpay standard paymentwindow. But will only be an option if the account has a Visa and a Dankort agreement activated, so both logos show in the payment window.
Specifically this means that, when the customers enter a Visa/Dankort, they will get the option to choose between Dankort and Visa.
For the costumers they will be able to press on the logo for Dankort or Visa, if they want to use that part of the card for the payment.
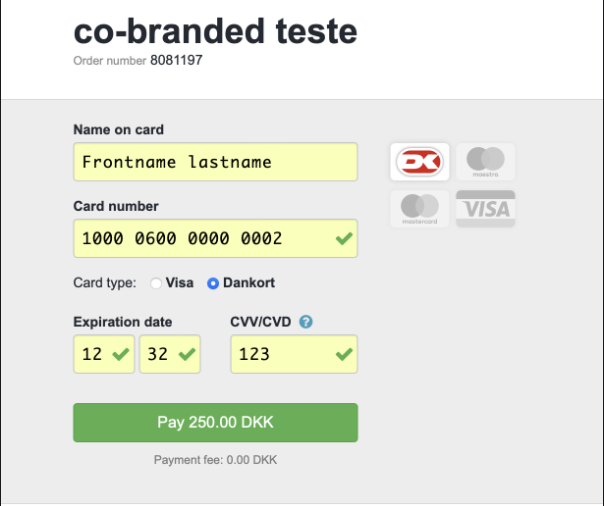
If you are using your own branding of the payment window, you will need to update to the newest branding version 2.2.1, to get the option in the payment window.
A branding can be created directly via the API or in the Quickpay Manager under Settings > Branding.
When creating a branding, you can choose whether you want a completely blank template or if your new branding should be based on the latest version of the standard branding. If you already have an existing branding, you can also choose to use it as the starting point for the new one.
Please note that brandings cost € 3 per branding per month.
For each additional shop URL linked to a merchant, an extra branding is included.
Minor code changes can be made directly in the Quickpay Manager. This is done by clicking into the desired branding and then selecting the specific file you want to edit.
You can also edit the files locally and then upload them again using the same filename – the existing file will be overwritten.
Additionally, you can upload ZIP files, which will automatically be unpacked and added to the branding.
It is possible to have multiple brandings and assign specific brandings to individual payments.
If no other branding is selected, the standard branding will be used by default.
Most shop systems allow you to specify which branding to use – either by selecting from a list or by specifying a branding ID. This ID can be found in the Quickpay Manager under the relevant branding.
If you use your own integration directly with the Quickpay API, you can set the branding_id when creating the payment link.
You can also set a default branding via the Quickpay Manager under Settings > Branding. This branding will be used if no specific branding is defined in the shop system or on individual payments.
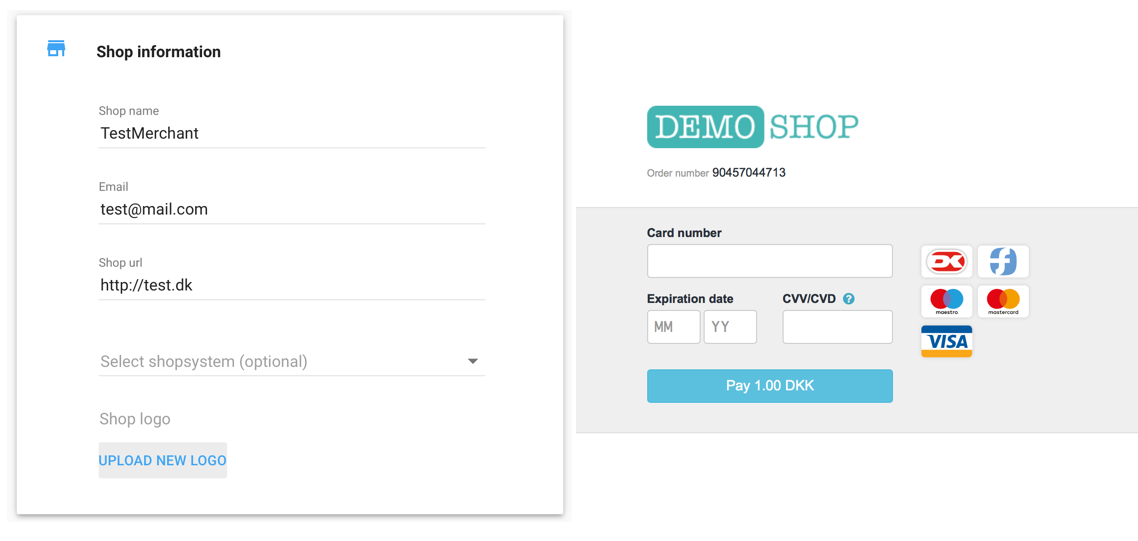
You can get your own logo in the payment window without creating a new branding, and therefore without any fee.
To get your logo into the payment window simply upload your logo from the Quickpay Manager, and the logo will automatically be shown when loading the payment window.
Go to Settings > Merchant in the Quickpay Manager
Click UPLOAD NEW LOGO and select a logo in a fitting size (eg. 250x250).
Now the logo will automatically be shown in the payment window.
If you wish to use a special font, you can. We support TTF and Woff/Woof2 fonts.
Step 1 - Log into the Quickpay Manager and navigate to Settings > Brandings
Step 2 - Click the branding where you wish to use your font.
Step 3 - Click the menu button in the top right corner and choose Upload new file
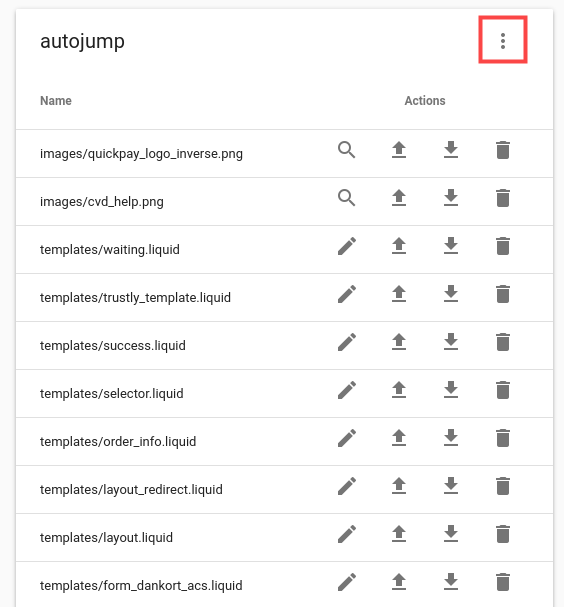
Step 4 - Now choose the font file. Once you have selected it and clicked ok, you need to specify a path in front of the file name. Simply write “fonts/” in front of the file name, as shown on the image below.

Step 5 - Find the file “stylesheets/paymentwindow.css” and click Edit
Now input the following code (in this example we use a font called Lobster-Regular)
@font-face {
    font-family: Lobster-Regular;
    src: url(../fonts/Lobster-Regular.ttf);
}
Step 6 - Change the used font
body, td {
  font-family: Lobster-Regular, arial, tahoma, verdana, sans-serif;
}
Finish by clicking Save.
Through branding config it is possible to change certain elements in the payment window.
Branding config can be changed in the payment request or by creating a branding.
Not all shopsystem-modules support branding config, and will have to be set in branding instead.
It is also possible to change through the branding config, in the branding system.
In the file config.json the relevant values can be changed.
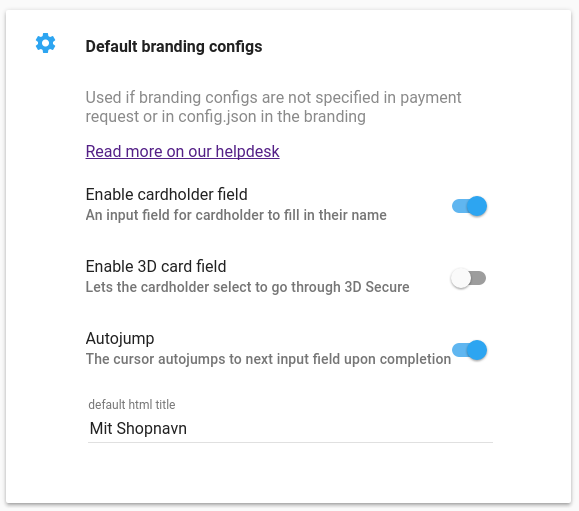
If you wish to have your customer type in their name in the payment window, this can be activated by setting
{
    "enable_card_holder_field": true
}
In the payment window there will now be a field for the cardholders name.

The name can now be found on the payment, under metadata > issued_to
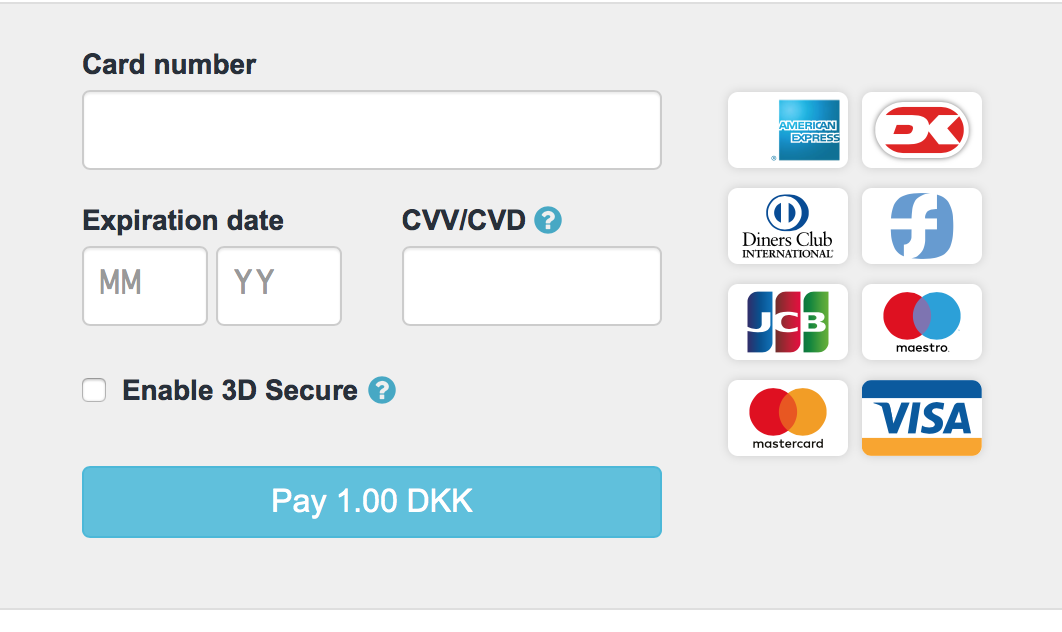
If you wish to give the customer the possibility to force a payment through 3-D Secure this can be done by setting
{
    "enable_3d_card_field": true
}
Cardholder can now activate 3-D Secure in the payment window.
Please note - if your payment method is set to: 3d-creditcard - the “Enable 3-D Secure” field will not be shown in the payment window, because it would defeat the purpose of the other setting
If you wish to set the ’title’ shown in the browser tab, it can be done by defining
{
    "title": "Sko Butik"
}
If you want to use autojump, meaning that that when you have filled out eg. card number it automatically jumps to expiration month, it can be done by setting
{
    "autojump": true
}
Depending on your shops flow, target group and what product/sevice you are selling, it can sometimes be a good idea to add some extra information to the payment window.
By using branding it is possible to have the customers address, basket with items or other self-defined variables. These information can be sent along with it, when the payment is created. You can read more about this on our tech site.
It is possible to completely change the payment window, and thereby the possibilities to add extra information are endless.
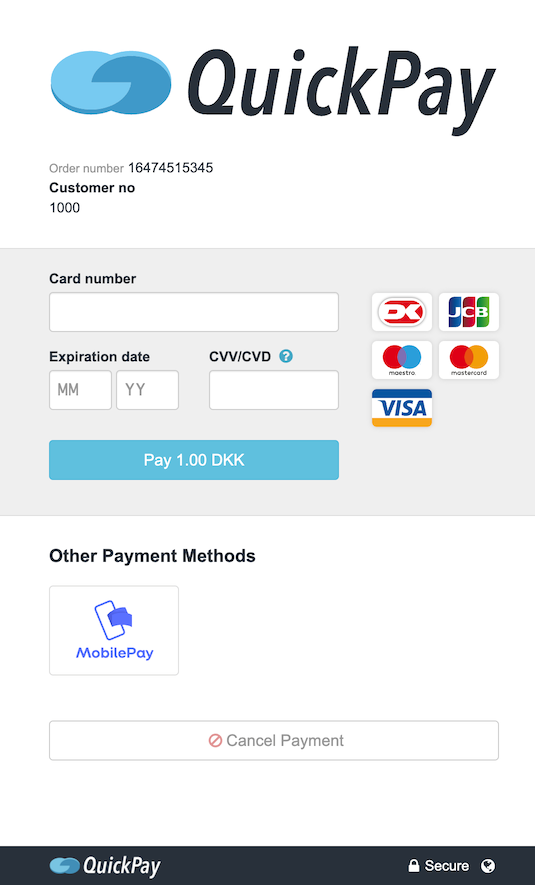
This example is based on a wish to have a customer number shown in the payment window, next to the other standard information. In the creation of the payment, the customer number is sent as a variable called “customer”.
Next you need to create a new branding under Settings > Brandings in the Quickpay Manager, and setting this as default.
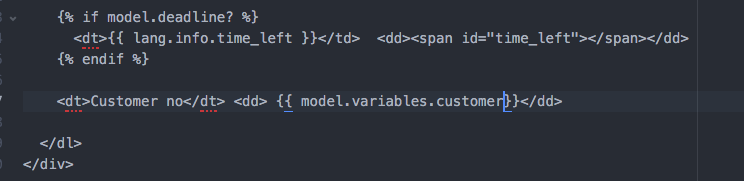
Download branding, and open the file templates/order_info.liquid
Input
<dt>Customer no</dt> <dd>{{ model.variables.customer}}</dd>in this example it is entered in the end of the file
When the payment window is opened, it is show as such
It is also possible with other information, that is sent to the payment window, such as invoice_address, shipping_address or basket
If you want the customers name it can be done by writing
<dt>Dit navn</dt> <dd>{{ model.invoice_address.name}}</dd>Or you can show the basket by writing
{% for basket in model.basket %}

<dt>{{basket.item_name}}</dt> <dd>{{basket.item_price}}</dd>

{% endfor %}The payment window is also available in a variety of languages. You define the language’shown in the payment window, by using the variable “language”. This is done where you call the payment window from your shop. Example below.
"language" => da
The language can also be chosen in the Quickpay Manager under Settings > Integration, where you can choose a Default payment window language
In the link below you can se a list of the currently supported languages.
https://github.com/Quickpay/standard-branding/tree/master/locales
If you have an alternative language request, simply contact us, and we’ll try to find a solution to have it added.
If you wish to show an amount in the payment window when creating a subscription, it is done through branding.
{% t Create subscription %}And change to the following:
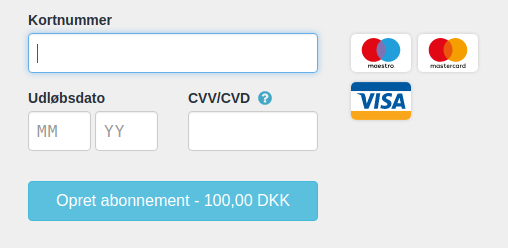
{% t Create subscription %} - <span id="total-field"> - {{ model.formatted_amount }} {{ model.currency }}</span>Click ‘Save’. Remember to call your branding id either through your shopsystem or by choosing it as your standard branding under Settings > Branding
Next time you open the payment window it looks like this:
If you wish to make fields required to be filled out before it is possible to click Pay it is done as follows:
<input type="tel" id="cvd" name="cvd" class="form-control" autocomplete="cc-csc" aria-describedby="cvd" maxlength="4" pattern="[0-9]*" data-mask="9999" inputmode="numeric">And change to the following:
<input type="tel" id="cvd" name="cvd" class="form-control" autocomplete="cc-csc" aria-describedby="cvd" maxlength="4" pattern="[0-9]*" data-mask="9999" inputmode="numeric" required>First download the file you want to edit, eg. the Danish text. In the Quickpay-manager Go to Settings -> Brandings, click on the branding you want to edit. Find the file (for Danish) locales_da_DK_LC_MESSAGES_branding.po click the download button to right. Open the file with a PO Editor, eg. PoEdit. When you have made your changes, compile the file to MO. The file is now named locales_da_DK_LC_MESSAGES_branding.mo Upload the new file to your branding in the Quickpay-manager.
If you wish to use iteration in the payment window, naturally there is a guide for this.
Need help for Liquid operators, types etc. we can recommend Liquid
Support
Monday - Thursday: 09:00 - 16:00
Friday: 09:00 - 15:30
+45 77 34 86 42
Support
support@quickpay.net
Sales
sales@quickpay.net
Accounting
accounting@quickpay.net
Communications
communications@quickpay.net